I found this recipe in a Taste of Home magazine. Loved it when I first made it, and then made it again today for company and everyone here loved it too. Good recipe! And what's so great is that it is a fast bread recipe, you only let it rise once for 20 minutes, so you can be from start to finish in less than an hour. Awesome!
1 cup warm water
1 tsp sugar
1 TBSP yeast
1 TBSP oil
1 tsp salt
2 1/2 cups all-purpose flour (I used bread flour and used way more than 2 1/2 cups - just keep adding a little at a time until it reaches the right texture - soft dough but not sticky)
In a bowl, combine water, sugar, and yeast. Add oil and salt. Add 1 cup of flour, mix well, keeping adding flour little by little until a soft ball forms. Knead for 10 minutes until smooth and elastic. Place in a bowl, cover and let rise in warm place for 20 minutes (I always heat my oven on 350 degrees for exactly 2 minutes, turn off the oven and then let my dough rise in the warm oven, works wonderful! And I cover the bowl with a lid or with plastic wrap, never a towel, this keeps the moisture in better)
Place dough on a large cookie sheet or jelly roll pan greased with olive oil. Pat dough until it stretches to the edges of the pan.
Brush the top of your dough with olive oil, just enough to coat your dough, don't drown it. Combine seasonings:
1/4 tsp salt
1/4 tsp garlic powder
1/4 tsp dried oregano
1/4 tsp dried thyme
1/8 tsp pepper
Sprinkle evenly over dough.
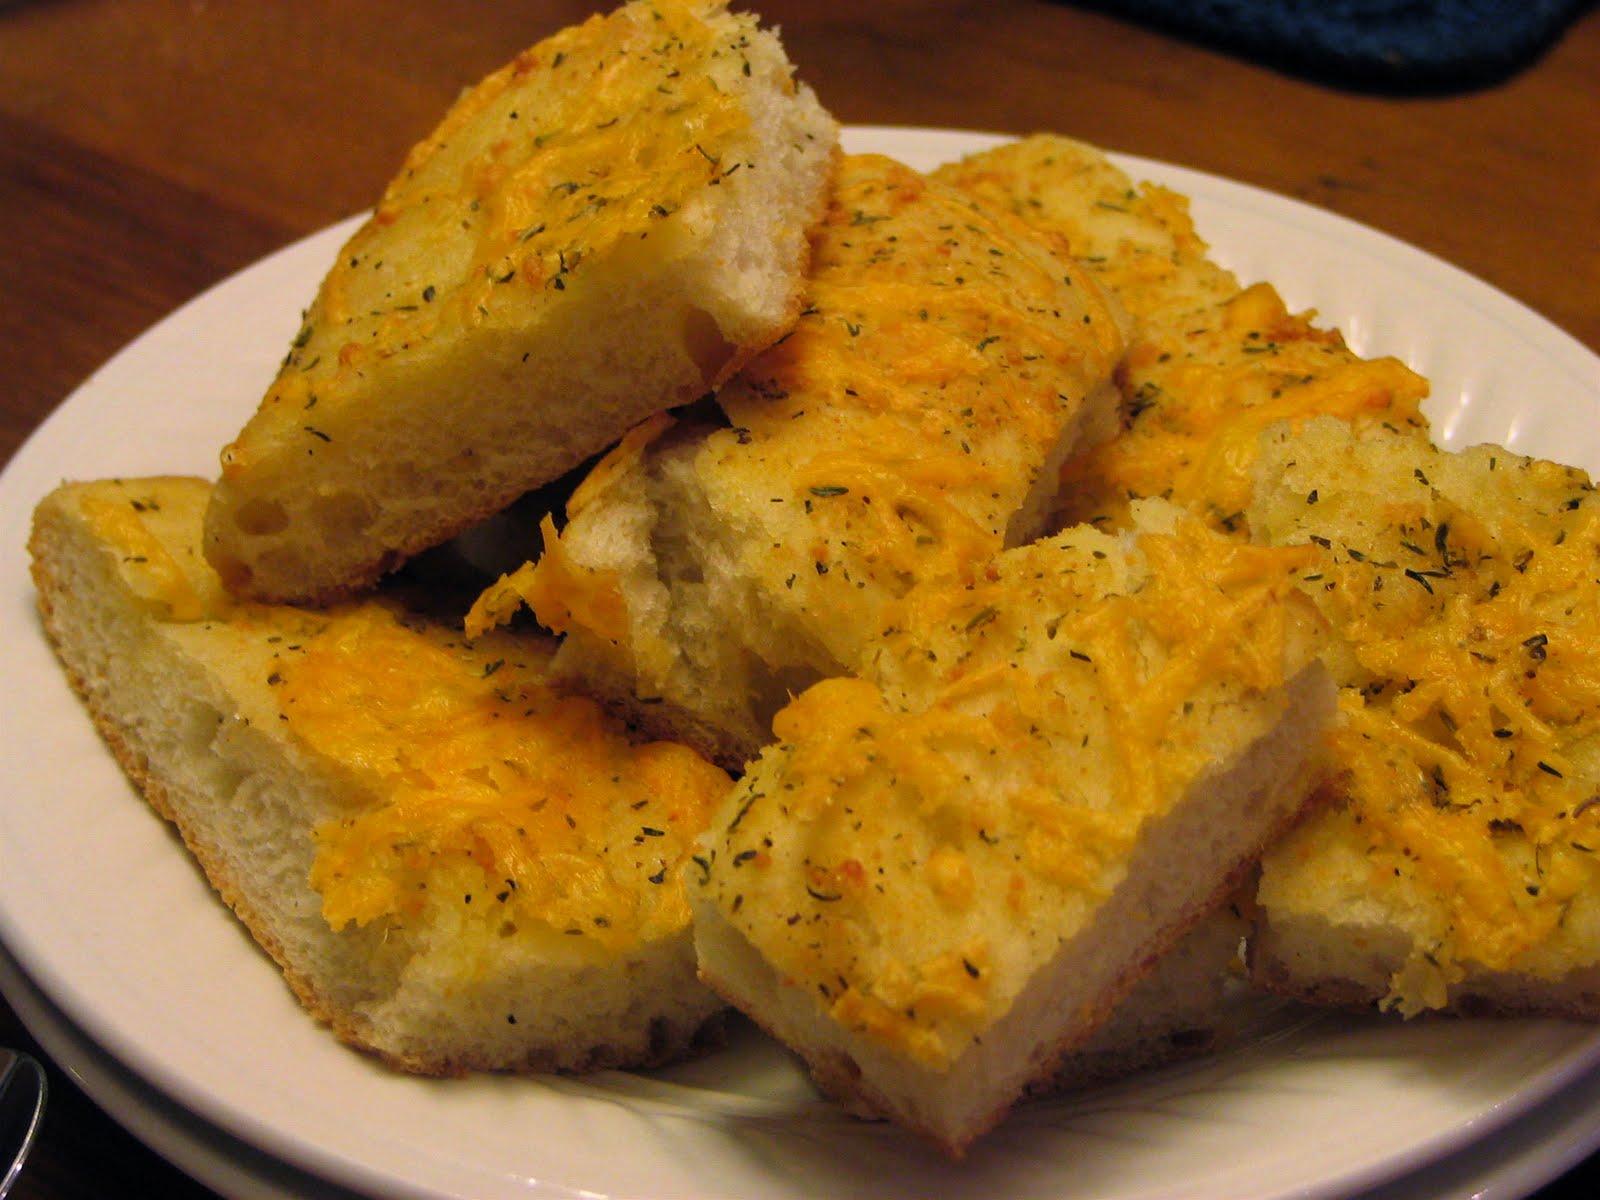
Add 1 - 2 TBSP grated parmesan cheese and 1/4 to 1/2 cup Mozzarella cheese (I used italian cheese blend) - sprinkle evenly over dough.
Bake at 375 for 20 minutes or until golden brown.
 This cake was so much fun to do. My friend asked me to make a cake for a baby shower she was throwing for her friend who is having her first baby, a little girl. How exciting! I jumped at the opportunity and immediately dreamed up the design. She sent me a picture of the baby's crib bedding so I used that as a color and design starting point. A lot of work, I'm not going to lie - it's just me in my little kitchen, no staff of helpers to get the cake baked, filled, and dirty iced before the real fun begins with the decorating. Still I love the process, it's an outlet and when it turns out so fantastic, I enjoy it even more. Hope you like!!